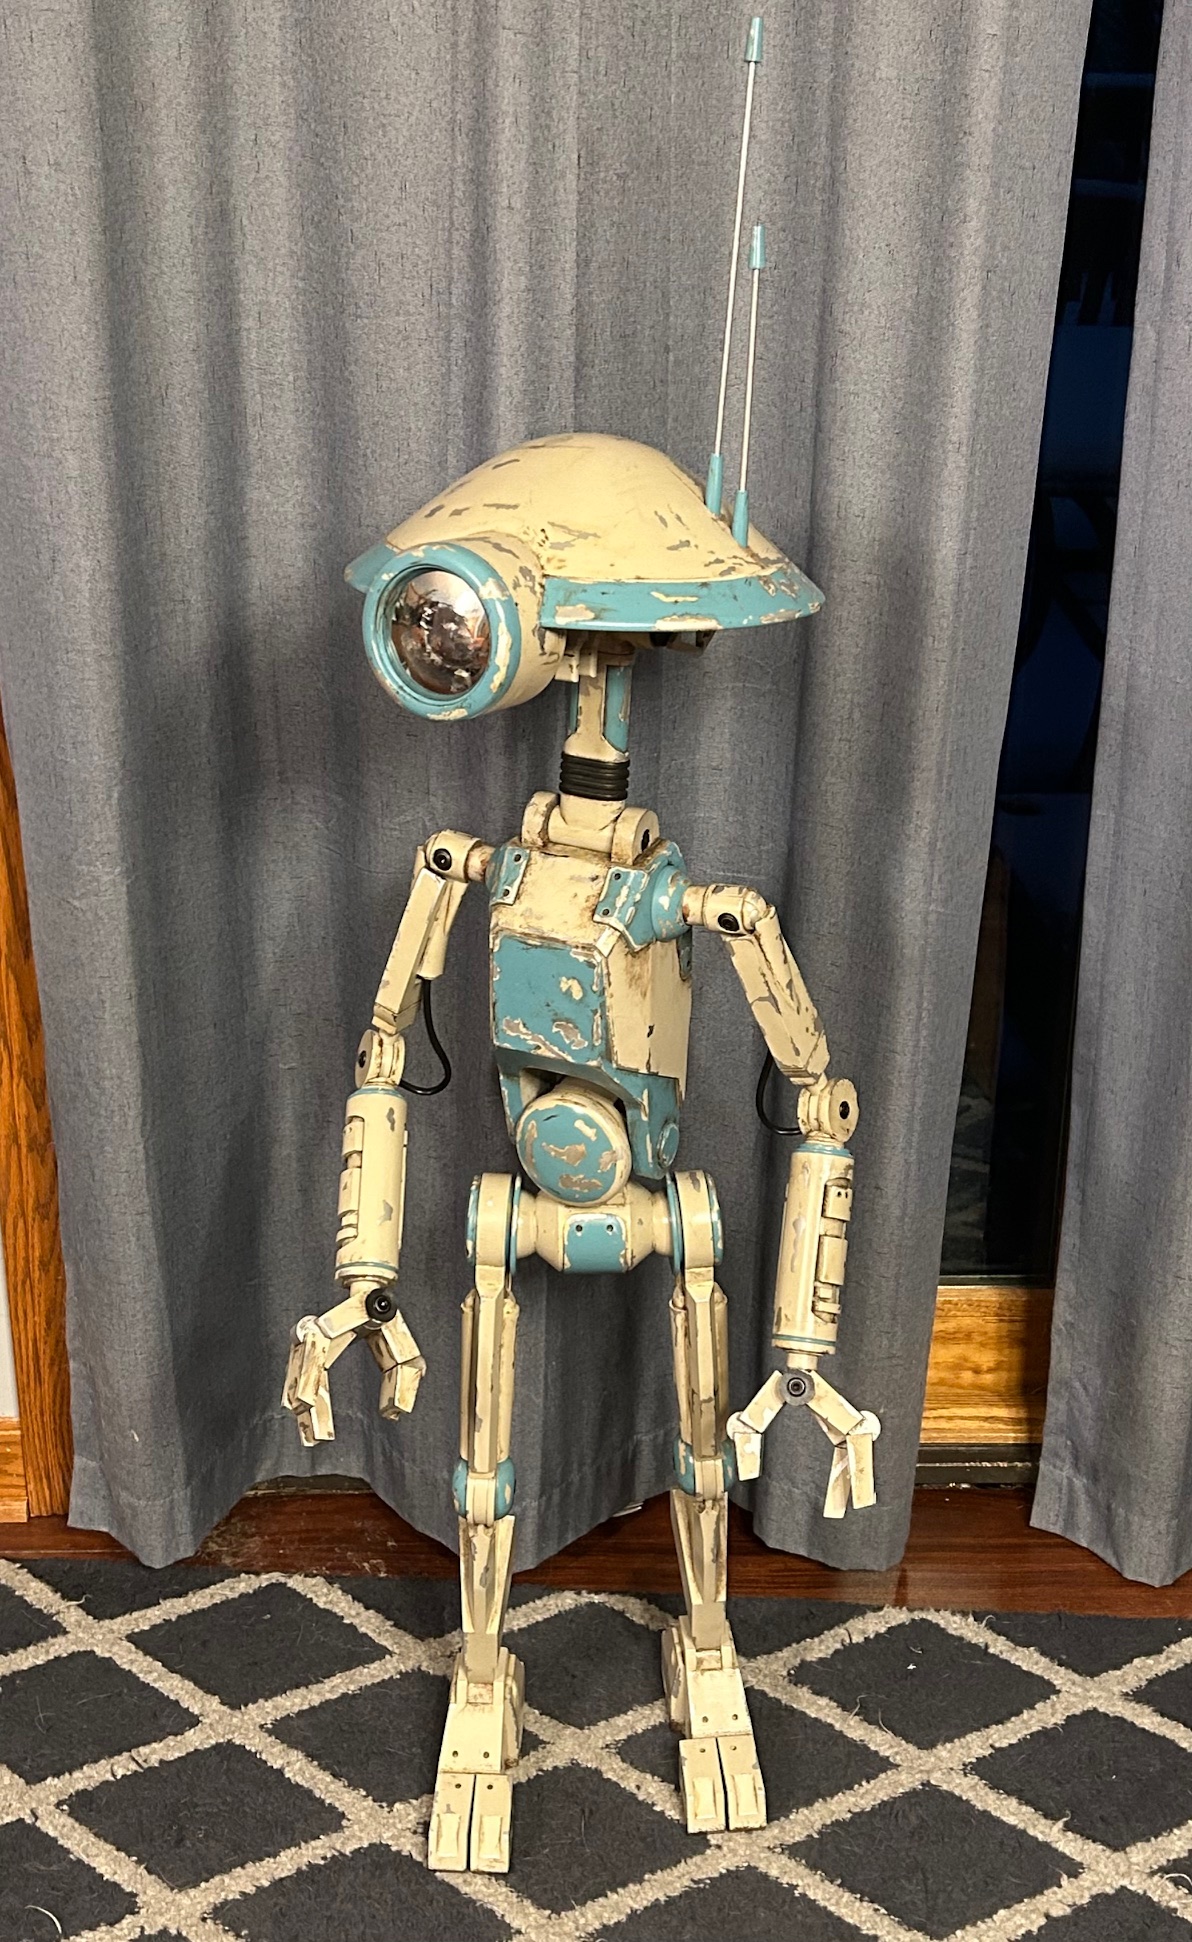
We’re really happy to be bringing you this new series from friend of Wookie, Jason Nagy. In just a couple of years, he’s gone from getting his first 3D printer to being able to print his own life-sized Star Wars droids from scratch. Now, he’s taking us on the journey to build his next droid: a life-sized SE-2 (Essie) droid as seen in ‘Rogue One: A Star Wars Story’.
Check out episode one of this exciting new build, as well as the instructional video and gallery of some of Jason’s best droid builds below!

Hello, Makers and Droid Builders! Welcome to our first post and video as we begin the journey of 3D printing and building a life-sized SE-2 (Essie) droid as seen in ‘Rogue One: A Star Wars Story’. When you first get started, it’s easy to waste hours searching for tips, techniques, brands, and more. My goal is to save you time by sharing what I learned through my online research and first-hand experience.
The opportunity to share my latest droid-building project with you would not be possible without the support of Aceaddity. They are sponsoring this build and providing us with their new Flash PLA+ filament. I am testing their new high speed filament by using a Bamboo Labs P1P. The results have been flawless with ideal extrusion and bed adhesion. See product links below.
One does not simply come up with an idea for a print, load up the filament, and let it fly. If you want to avoid a costly and time-consuming print error, there is some printing pre-work that must be done. This is the subject of our premier post and video.
There are no doubt 3D printing experts reading this and you have my utmost respect. I have not found the time, patience, or skill required to produce the perfect 3D print. For me, printing is a means to an end. I have not developed expert printing skills and still rely heavily on what others can share with me. Fortunately, our SE-2 droid files include printing tips that I follow and would like to share. This set of files and documentation was purchased on Etsy and designed by the Droid Division.
Droid Division recommends using a minimum of 1.2mm walls. I try to use a .8 nozzle with 2 walls for my prints. Infill on larger parts is done with 5-8% grid infill. Joints or parts that need more strength may require up to a 20% infill.
For my printing pre-work, I keep a list of every file spliced. I document the length of time and amount of filament required to complete each print. This information makes efficient use of printing times and reduces mid-print filament swaps. I prefer to print starting with the feet and working up. This allows you to watch your project grow as each of the parts is printed or finished. The time during these first prints can also be used to order any hardware that will be required to complete the project. Of course, many of these supplies can be purchased as they are needed But it would be wise to have sandpaper and a file set at the ready from the start.
This printing pre-work brings our first installment of the SE-2 project to a close. Watch the accompanying video below for more details. Find my other droid builds by visiting The Droid Garage. If you are interested in taking a closer look at any of the items I use, continue reading for a list of Amazon.com product links. Using these links helps support my droid-building journey. Next Up: Once we have a few parts printed, we will begin sanding and prepping the leg parts for assembly!
Here are the parts you’ll need and where to get them:
If you want to learn more about Aceaddity, join their FB group HERE!

GNXDCMDX183926729